Specification measurement of enameled wire
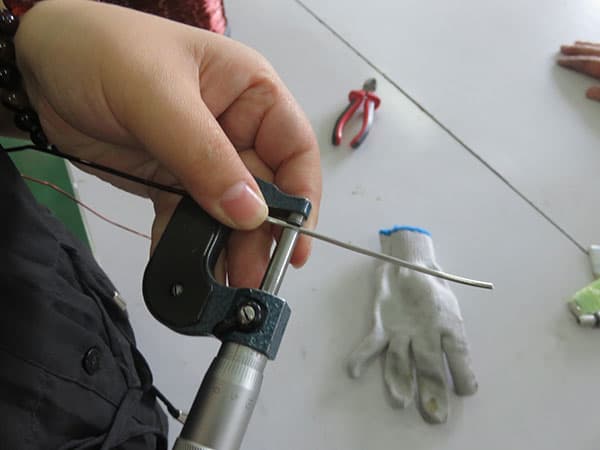
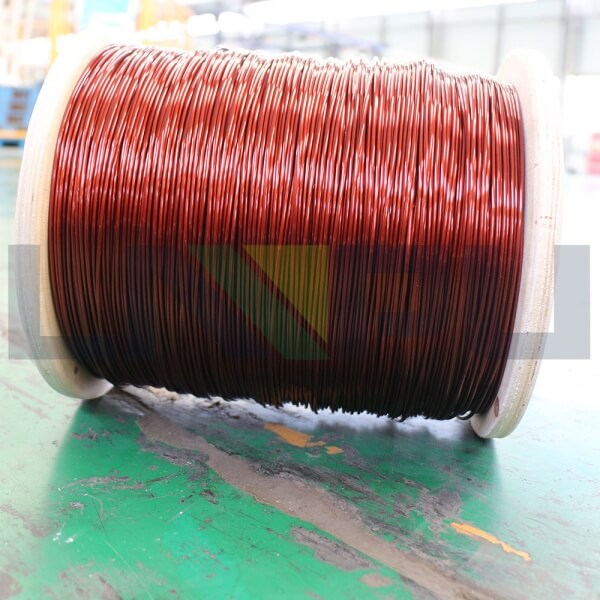
Enameled wire is a kind of cable. The specifications of the enameled wire are expressed in terms of the diameter of the bare copper wire (in mm). The measurement of the enameled wire specification is actually the measurement of the diameter of the bare copper wire. It is generally used for micrometer measurement. The accuracy of the micrometer can reach 0.01mm. There are direct measurement methods and indirect measurement methods for the measurement of enameled wire specifications (wire diameter).
Direct measurement
The direct measurement method is to directly measure the diameter of the bare copper wire. The enameled wire must be burned off first, and the fire method must be used. The wire diameter of the enameled wire used in the rotor of the series motor for electric tools is very small, and it needs to be burned many times for a short time when it is burned with fire, otherwise it may burn out and affect the efficiency. After burning, wipe the burnt paint with a cloth, and then measure the diameter of the bare copper wire with a micrometer. The diameter of the bare copper wire is the specification of the enameled wire.
You can use alcohol lamps or candles to burn the patent leather of the enameled wire.
Indirect measurement
The indirect measurement method is to measure the outer diameter of the enameled copper wire (including the patent leather), and then according to the data of the outer diameter of the enameled copper wire (including the patent leather). This method does not need to burn the enameled wire enameled leather, and has high efficiency. If you can know the specific model of the enameled copper wire, it is more accurate to check the enameled wire specifications (wire diameter).
[Small experience]
No matter which method is adopted, the different number of roots or positions must be measured 3 times to ensure the accuracy of the measurement. When there is a big difference between the three measurement data, it may be a parallel wire, which needs to be carefully analyzed.
No matter which method is used, the wire must be straightened before the measurement to ensure the accuracy of the measurement. When the three measurement data differ greatly, it may also be caused by the time line not being straightened.
The direct measurement method is generally used for the measurement of the old wire (the winding is removed from the burnt out), and the indirect measurement method is generally used for the measurement of the new winding, which is more convenient and fast.

